Categories
3D Printing

Ultimaker Introduces New S5 3D Printer

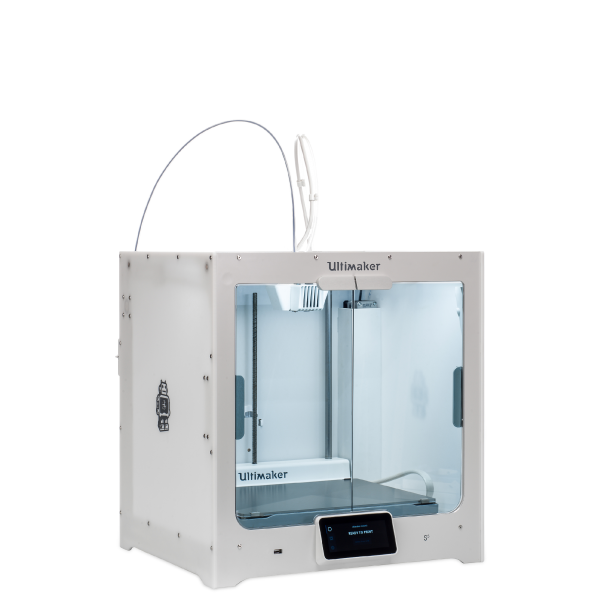
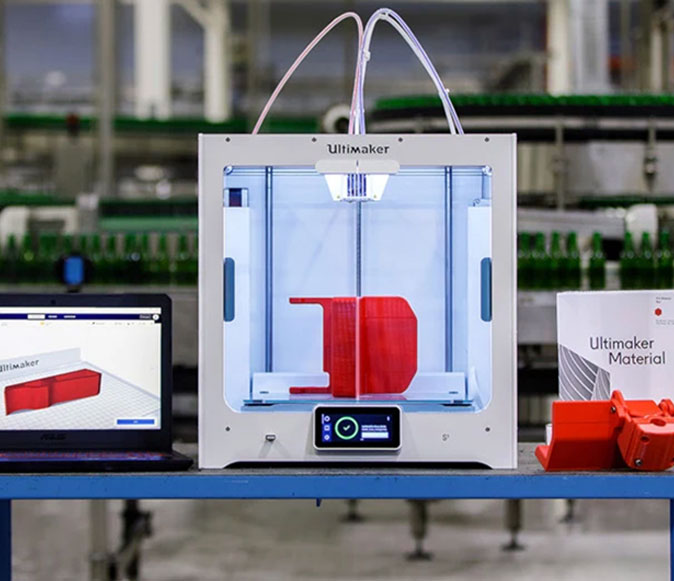
One of the best professional 3D printer brands just got better and bigger! Released today, the new Ultimaker S5 boasts a large build volume, intuitive touch screen, and reliable dual extrusion system. Already relied upon by tens of thousands of businesses, the launch continues Ultimaker’s dominance in the professional desktop 3D printing market.

Ultimaker S5 New Features

The Ultimaker S5 is a large leap from its predecessors with major changes across the board, delivering an easier and more reliable 3D printing experience. Here’s what’s new:

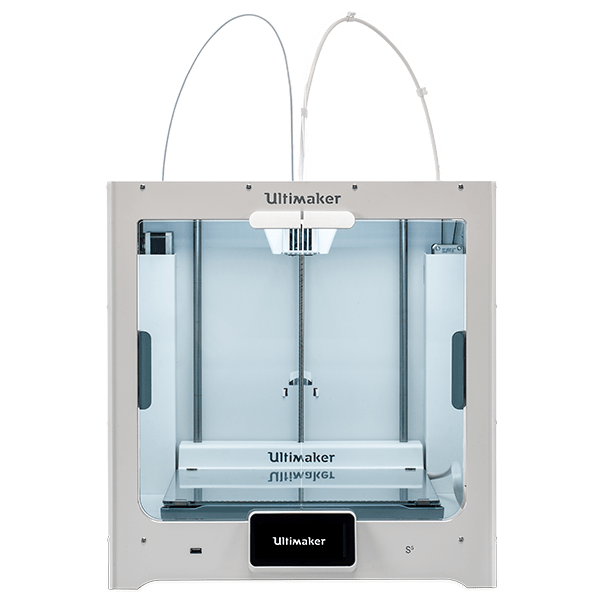
Build Volume: One of the most obvious changes is the spacious 330 x 240 x 300 mm build volume. In addition, the print area is now behind a set of tinted glass doors. These help to regulate temperatures during the printing process, minimizing warping and cracking.

UI/UX: The S5 features a new 4.7-inch (11.9 cm) full color touchscreen. An intuitive user interface enables users, both new and tenured, to easily control the machine, load filaments, run calibration sequences, and monitor prints, no experience required. In addition to the new touchscreen, Ultimaker added new automated leveling sequences to ensure perfect first layers and bed adhesion.

Connectivity: In an increasingly network connected world, the new S5 is no different. Onboard wifi and a built-in webcam seamlessly integrates with Ultimaker’s Cura Slicer, allowing users to easily send prints to the 3D printer from the comfort of their desk.

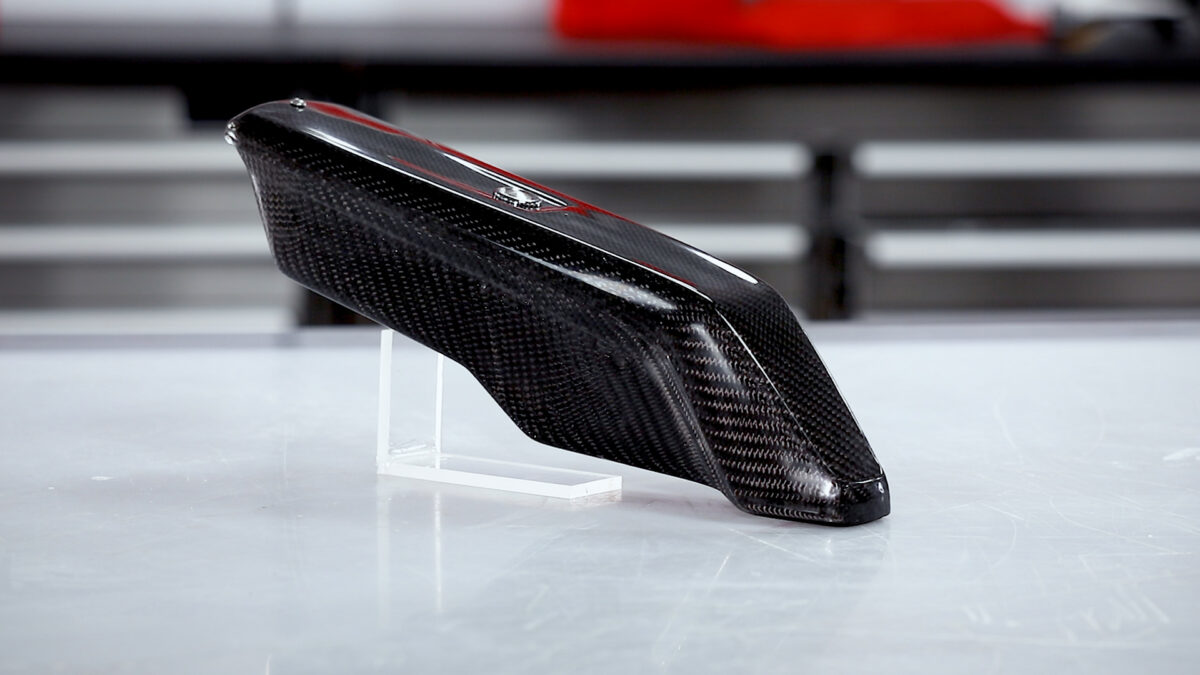
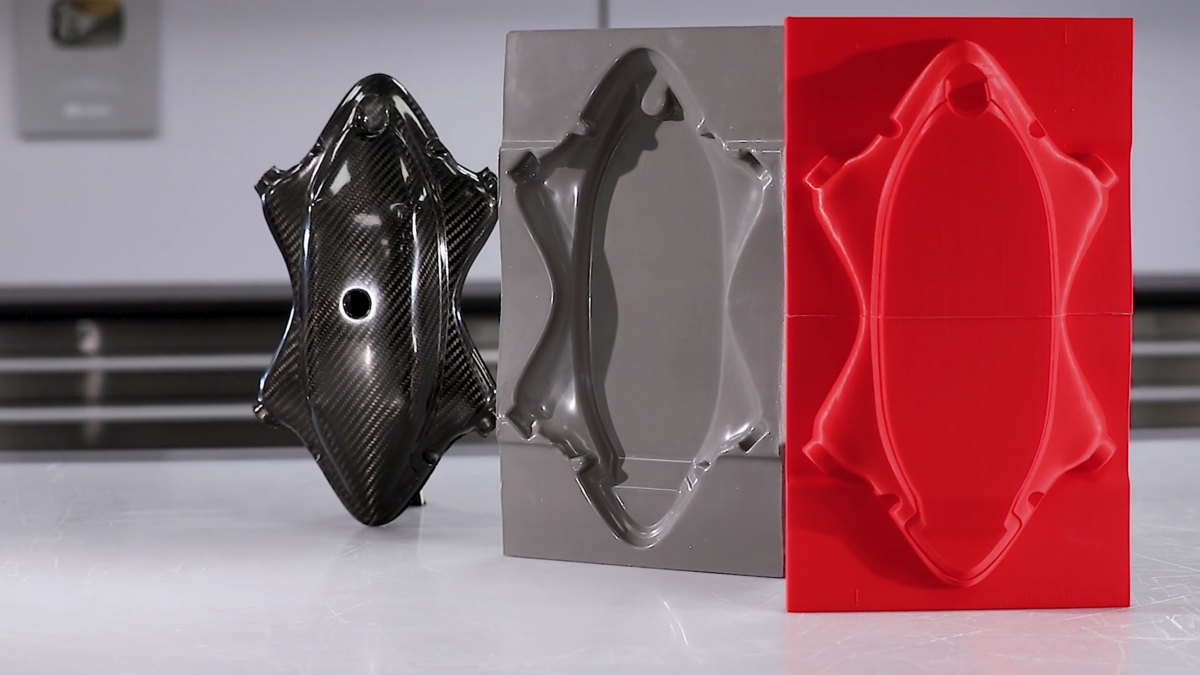
Materials: Included print cores enable the Ultimaker S5 to print an impressive range of materials out of the box. Going even further, the S5 now has an optional CC Red 0.6mm print core upgrade, enabling users to 3D print abrasive, high-strength materials, such as carbon fiber-filled and glass filled nylons.

Categories
3D Printing

Create 3D Printed Molds for Carbon Fiber Parts

Tutorial: How to 3D Print Molds for Carbon Fiber Parts

Save time and money by producing Carbon Fiber parts directly from 3D printed molds. Learn how to create strong beautiful components at a fraction of the cost and with less labor cost. In this tutorial you will learn:

  • How to use a 3d printer to directly print a mold suitable for ambient temperature processing.
  • Techniques to perform a simple hand layup in carbon fiber.
  • How to coat the finished part to provide a perfect cosmetic finish.

Categories
3D Printing

SmartSlice Webinar

In this 45 minute product demonstration with Dynamism and Teton Simulation, we review how the SmartSlice plugin for Ultimaker Cura enables users to:

  • Define load characteristics on parts and preview how loads will impact a printed part.
  • Implement simulation using Finite Element Analysis to ensure printed part performance.
  • Choose from multiple slicing configurations, allowing users to prioritize based on individual needs.
  • Reduce print times by up 45% while saving up to 40% on material usage.
  • Have confidence that printed parts will meet application requirements in specific project scenarios, reducing the overall number of iterations.

Want to give SmartSlice a try? Request a free trial.

“Teton’s Smart Slice plugin brings engineering grade part simulation to Ultimaker Cura users. Using the integration options of our open and pluggable platform it will make sure parts still meet their engineering criteria, but need less material and therefore saving valuable time and costs. The cooperation with Teton and the integration of their innovative solution are a prime example of how we will be continuously adding value for our professional customers.” Paul Heijmans – Senior VP Software at Ultimaker.

Image

SmartSlice is a plug-in for Ultimaker Cura that empowers users to perform validation and optimization of print parameters based on end-use requirements

Image

Professional and reliable composite-ready 3D printing from Ultimaker, in an efficient and accessible desktop format. Packed with the latest technology, it is as easy to use as it is powerful.

Image

The Ultimaker S5 is an easy-to-use desktop 3D printer with a large build volume that delivers accurate, industrial-grade parts, time and time again.

Categories
3D Printing

Dynamism Becomes First MakerBot Reseller With New Replicator 3D Printer

Dynamism is proud to announce the addition of the all-new MakerBot Replicator 3D Printer to our lineup of cutting edge technology, becoming the first official reseller of MakerBot. The Replicator promises to bring 3D printing to the masses with a unit able to fit on office or home desk at an affordable price. Like many of Dynamism’s other products, 3D printing promises to be a transformative technology, enabling businesses and home users to create just about anything.

What is 3D Printing

Unlike CNC machines, where a material block is cut away to create an object, 3D printing starts from the bottom and builds an object one layer at a time. To do so, a strand of plastic is fed through a heated nozzle. The nozzle is guided through a set of coordinates, depositing the plastic one layer at a time until the final object is created.

The New MakerBot Replicator

Recipient of the Best Emerging Tech Award at the 2012 Consumer Electronics Show, the MakerBot Replicator was released January 2012. The printer features one of the biggest build volumes available at ~9”x6”x6”, roughly the size of a loaf of bread, a significant increase over the cupcake sized build volume of MakerBot’s previous model. The printer comes in two configurations, a single extruder or dual extruder, for two color prints, and can print in either biodegradable PLA plastic or ABS.

With the growth of this new promising technology, Dynamism looks to add new 3D printers in the coming year, such as Robox and CubeX

To learn more about the MakerBot Replicator visit our webstore here.

Categories
3D Printing

Tutorial: Creating Carbon Fiber Molds From 3D Printed Patterns

Free Tutorial

How To Create Carbon Fiber Molds From 3D Printed Patterns

Learn how to create production-ready carbon fiber molds from 3D printed patterns. This tutorial covers print settings and materials, carbon fiber materials and hardware, and in-depth, step-by-step instructions including:

  • How to use a 3D printer to create a pattern and prepare for mold making
  • How to create a mold from a 3D printed patterns using epoxy
  • How to use your mold to make a prepreg carbon fiber part